It’s no secret. Given the popularity of the iPhone camera, people love camera apps on iOS and developers love building them.
You may be itching to learn how to build a custom camera due to a fancy idea you’ve thought of. The default camera controller provided by Apple can only take you so far and that’s really designed to be a simple capture method. If you plan to implement custom camera controls you’ll need to put together your own controller.
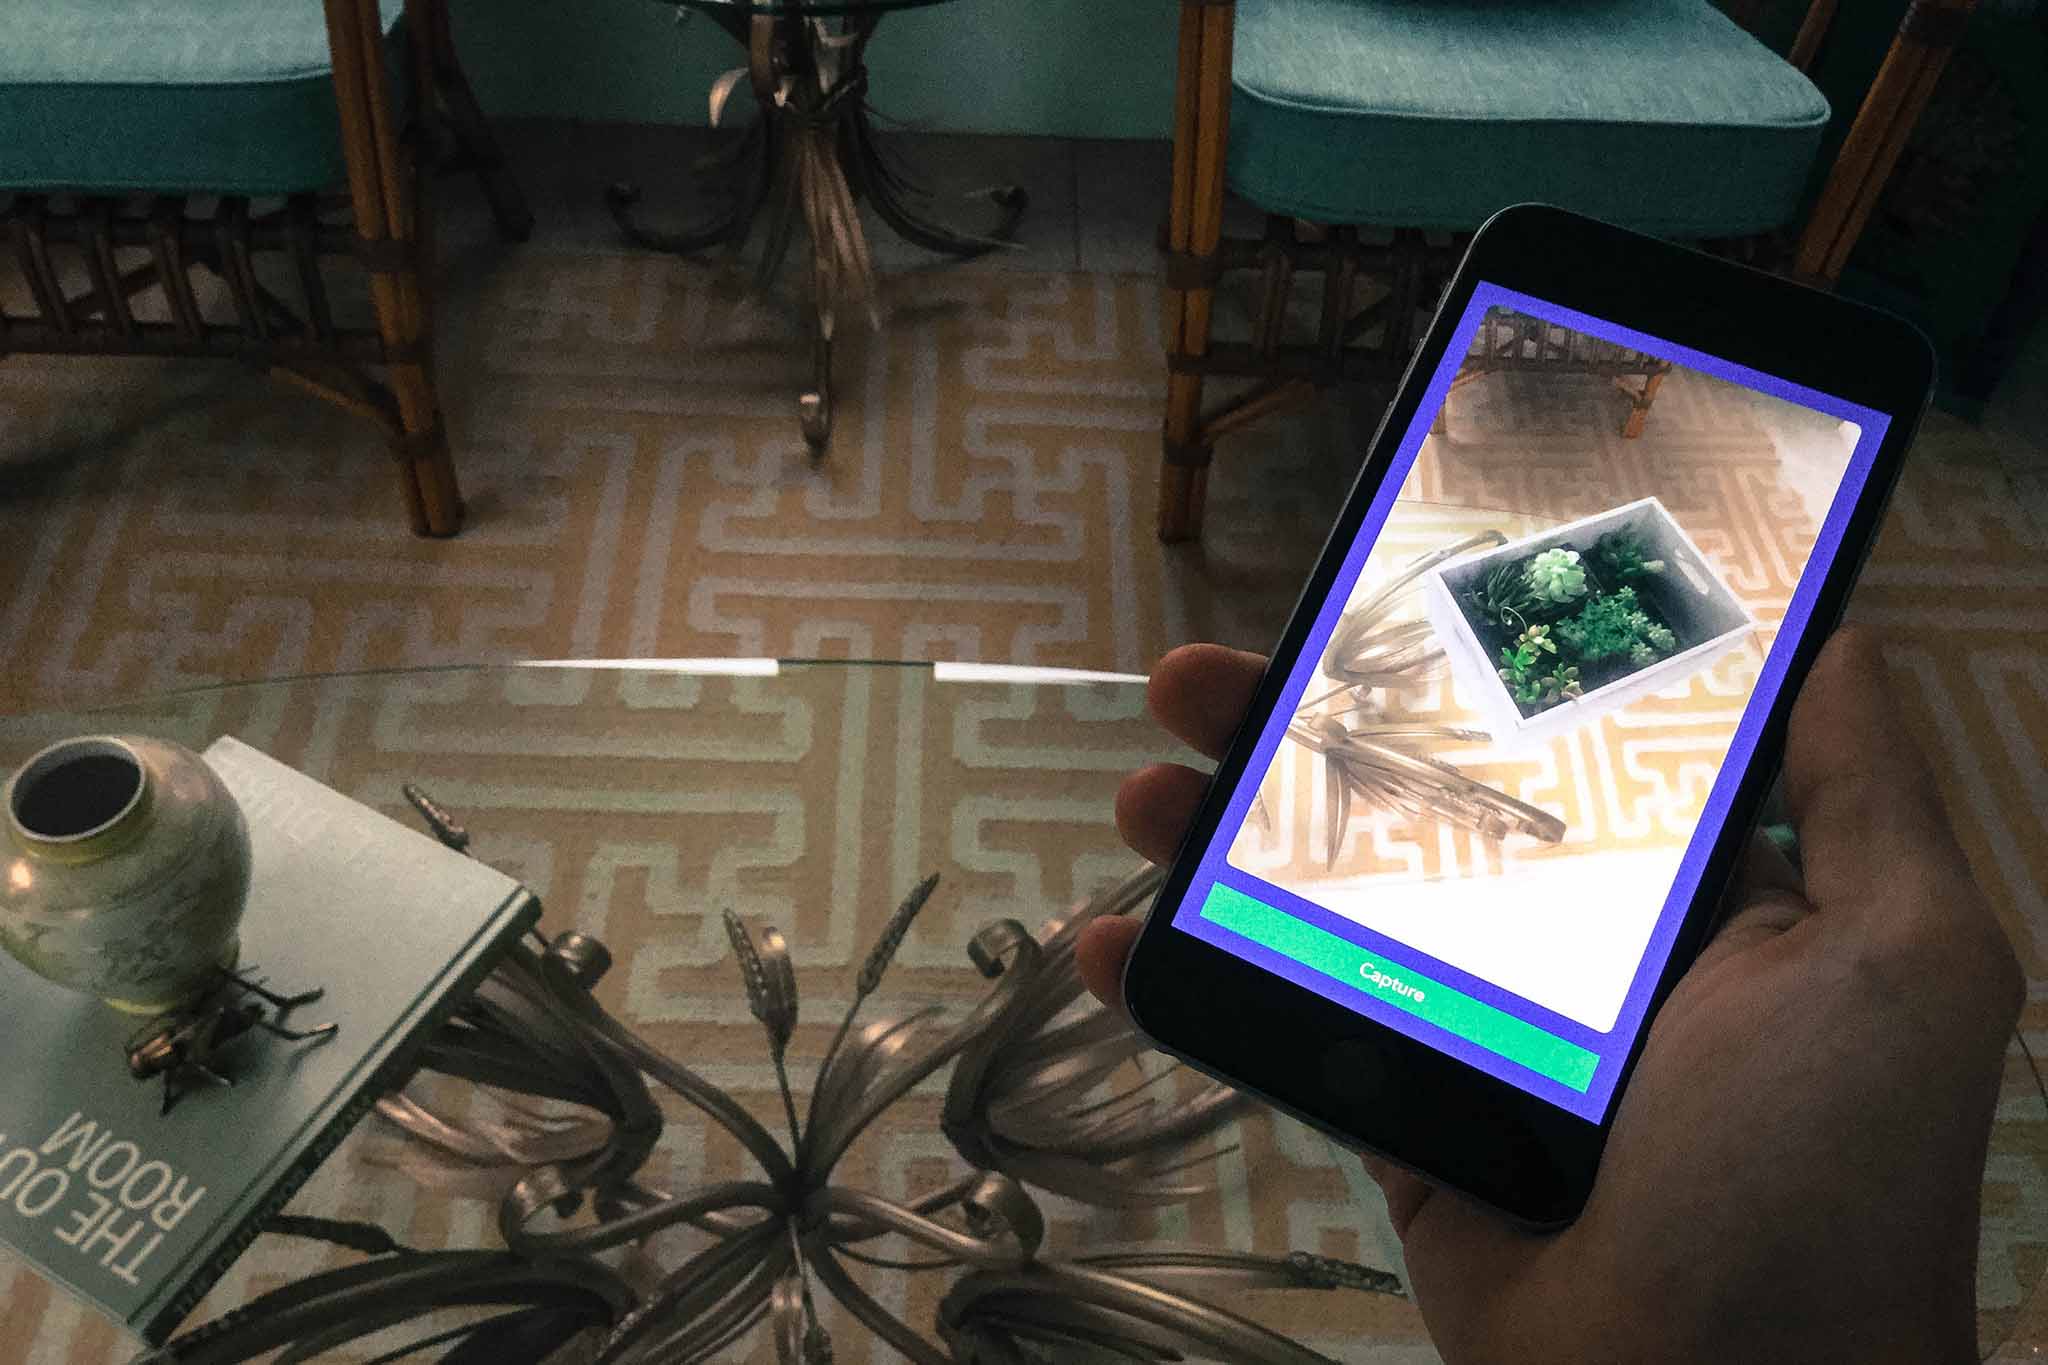
This example walks through building a simple controller that’ll let you preview the camera feed and snap a picture. I’ve purposely kept it in focus for this post, but the doors are wide open to continue adding onto the project in future posts—so stay connected to learn more!
How Does it Work?
A custom camera is built off of AVFoundation, which gives us direct access to the camera and microphone. This process is managed through a capture session that opens the flow of data from input devices (such as the back-facing camera) to outputs (such as an image or movie file).
Let’s see how this looks at a higher level with our example in mind.
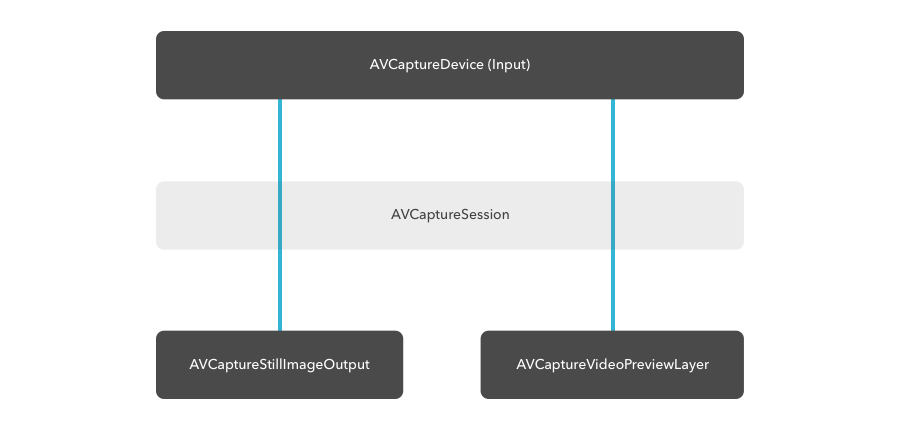
In our example you’ll see that we establish a connection with the back facing camera. Once we have that we create an object that’ll allow us to capture a frame from our input. In order to preview what our input is monitoring we need to establish a preview layer with our session object. Behind the scenes the preview layer is connected to existing inputs if one is available.
The preview layer is a CALayer that we add add a sublayer to a UIView within our storyboard.
When we create our capture session we initialize it with a preset AVCaptureSessionPresetPhoto. It’s important to know that this is not suitable for video and it can take a big chunk of memory (and time) when you capture a still frame. For example, snapping a photo with the Photo preset consumed 2.23 MB, and had a noticeable delay, in my test. When I switched that to High it was noticeably quicker and rang up to 0.85 MB.
You can jump into instruments to test this yourself by using the Allocations instrument. I highly recommend experimenting with presets just to get an idea of the memory usage in your app. You want to make sure that graph goes down, indicating that the memory has been released, when you’re done.

If you’re not careful you can let these objects linger around which will almost certainly crash your app due to a memory warning.
It’s also worthwhile to know that you can adjust the preset on the fly while your session is running.
Challenge
Head on over to the Apple Documentation if you’re curious to know about other things you can control. I’ll revisit our custom camera here in later articles, but until then grab my example and experiment.
Let’s add a button that’ll allow you to control the flash.
[columns]
[columns_left]
I’ve provided an idea for the design so you don’t have to think about that. You’ll simply re-position the capture button and add a new button that’ll toggle the flash mode. In order to add flash you’ll need to grab the AVCaptureDevice input. Within that object you’ll see that you can set flashMode to AVCaptureFlashModeOff, AVCaptureFlashModeOn, AVCaptureFlashModeAuto. When you toggle the flash mode mirror how the default camera on your device works (when it’s on, turn it off… etc).
One key thing to remember. Before you make any adjustments to an input you need to lock it for configuration. When you’re done don’t forget to unlock it.
And while it’s not important in this example, it will be in the future when you deal with the input on the front of the device. Not all inputs provide flash. You can call device.hasFlash to verify that it does before setting it.
[/columns_left]
[columns_right]
 
[/columns_right]
[/columns]
Have fun! Jump over and grab the sample project to see everything in action.
[alert color=”yellow”]github.com project[/alert]
Question & Answer
[alert color=”blue”]Does it hurt to keep the session running?[/alert]
From what I’ve experienced, no. It doesn’t appear to consume a dramatic amount of memory. It keeps things running smoothly, in fact. Stopping and starting the camera is a pretty intense operation that will reveal some noticeable lag time. You also have apps like Snapchat, Tiiny, and Tappy that all keep their session active.
[alert color=”blue”]In my project I’m running into a crash that says AVCaptureVideoPreviewLayer was deallocated while key value observers were still registered with it. What’s going on?[/alert]
This appears to be some sort of funky internal error when you try to manage a custom view that treats itself as a AVCaptureViewPreviewLayer. When I set that object to a UIView in my storyboard this error would show up when I attempted to modify it’s session. Instead of worrying about a custom AVCaptureViewPreviewLayer I just dropped back, created the layer when the app starts, and then apply it to my storyboard UIView.
Takeaway
Working with a custom camera can be a bit of a pain, but it’ll pay dividends given that you’ll really be able to customize your app experience. You can literally create a camera input and feed that into preview layer however it might be displayed.
Your Turn
Have you built a custom camera? How did that go? Let me know below! Feel free to send any questions my way.
Finally, stay connected by signing up for that newsletter on the right side of your screen. It’ll help me immensely to know how many of you are out there who enjoy this content.
Leave a Reply