
We’re going to be exploring an example for a common user interface trait of iOS applications these days–blurred views with UIVisualEffectView.
This technical overview is actually going to end up being light on code given that Apple has made this much easier to implement in iOS 7, but it’s still an extremely valuable tool to keep in your tool bag. Designers have bought into Apples use of blur views. They provide us with a great feel while giving our users a sense of where we are in the application. They also look pretty slick at the same time and an easy win.
The structure of our sample app is pretty simple. We have a base controller that is going to present a modal controller when the user presses a button.
[annotated header=”Scenes Overview” annotation=”Simple controller transition from one scene to another”]
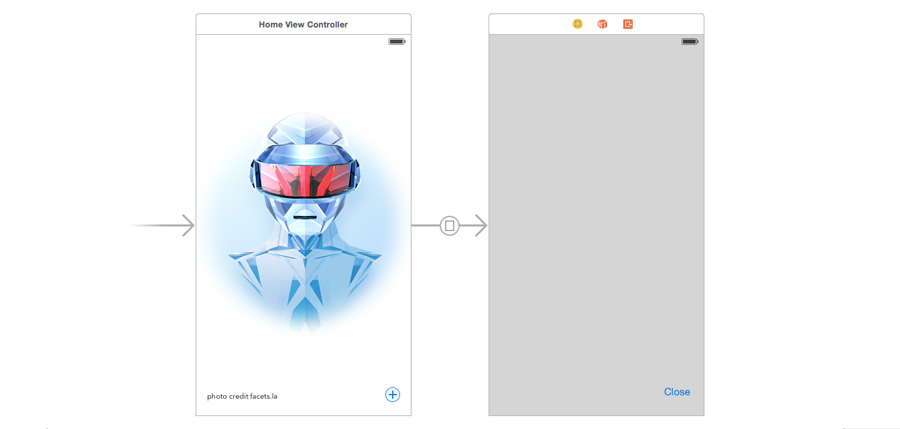
[/annotated]
The good news is that the blurred effect is incredibly easy to achieve. With the introduction of iOS 8, Apple exposed a new view that simulates the way they handle blurring around the system. Before iOS 8 we would have needed to rebuild the effect ourselves or take advantage of 3rd party libraries like FXBlurView. You may still need to learn if you plan to support iOS 7 depending on your requirements. Given the adoption rate for iOS it’s not something I typically worry about. Supporting multiple versions of an operating system can be a pretty nightmarish situation.
If you’re a fan of storyboards you really don’t have to write any code at all. You flip a few settings in your scenes and you’re good to go.
I’m a huge advocate of storyboards. They’re an extremely quick way to get an idea up and running. They also helps to create a clear picture of what you’re trying to achieve since you can get a quick 50,000ft overview. If you love the code route you can get a general sense of what you need to worry about by reviewing the project.
So there are a couple of keys to this
- Use a storyboard segue with the default presentation and transition style
- The modal controller needs to have the presentation style set to Over Current Context
- Add a Visual Effects View and fill the entire background of the modal controller. If you add any objects to this view be sure to add it to the content view.
That’s it. Jump over and grab a sample project to see this in action.
[alert color=”yellow”]github.com project[/alert]
Question & Answer
[alert color=”blue”]What if I want to use a different transition, like cross dissolve?[/alert]
You’re going to want to set that on the modal controller instead of the segue.
[alert color=”blue”]When I display my modal controller it shows the blur for a second and then goes dark. What happened?[/alert]
If the system doesn’t know that the base controller needs to stick around, it will preserve energy/memory by removing the base controller from the view structure. Make sure your modal presentation style is set to over current context.
Takeaway
Adding a blur effect to your app is pretty straightforward. The key is having an awareness of how things work, specifically how the view controller hierarchy works. The UIVisualEffectView object is pretty basic so there’s not a lot to it.
Your Turn
Have you run into any issues with blur views? How about performance issues? Let me know in the comments below!
Leave a Reply