
Friendly reminder: My first newsletter drops at the end of the month! Issue #1! Subscribe to get it, free guides, and more!
There is something to be said about convenience when logging into a service. I personally love using Facebook or Twitter authentication when using apps since it lets me get to where I want to go quicker. With the introduction of iOS 8, Apple opened the doors for third-party apps to utilize Touch ID. Instead of requiring a passcode to resume an app session you can easily request that the user authenticates via Touch ID.
By the time you finish this article you’ll understand how to integrate Touch ID into your app.
- You’ll be introduced to the Local Authentication Framework
- You’ll understand how to request authentication with Touch ID
- You’ll see how to handle the use case of the user denying Touch ID authentication, instead opting for the regular password entry
- You’ll learn if there is more we can do with the sensor, such as knowing if it’s being touched and if we can identify which print was used in the event you have user profiles
Download the example project from Github to see this in action
Introducing The Touch ID Framework
Touch ID is accessed via the Local Authentication Framework, which facilitates the authentication process. This framework is very straightforward and provides just one class, the LAContext.
LAConext does two things for you during this process. First, it verifies that an authentication is even possible. This can fail if the customer has not set any fingerprints. If it does fail then you need to have a backup route available, which you will likely already have in the vent the user chooses not to use their fingerprint.
If biometric authentication is possible then the authentication process will proceed and your customer will see the fingerprint alert view.
There are a few error codes to be aware of during this process.
- LAErrorAuthenticationFailed : The customer failed to provide valid credentials
- LAErrorUserCancel : The customer pressed Cancel
- LAErrorUserFallback : The customer pressed Enter Password
- LAErrorSystemCancel : The system cancels the process (usually encountered when the app is pushed to the background)
- LAErrorPasscodeNotSet : Authentication could not begin due to the passcode not being set on the device
- LAErrorTouchIDNotAvailable : Authentication could not begin due to the device not having Touch ID
- LAErrorTouchIDNotEnrolled : Authentication could not begin due to no existing fingerprints
Implementing Authentication
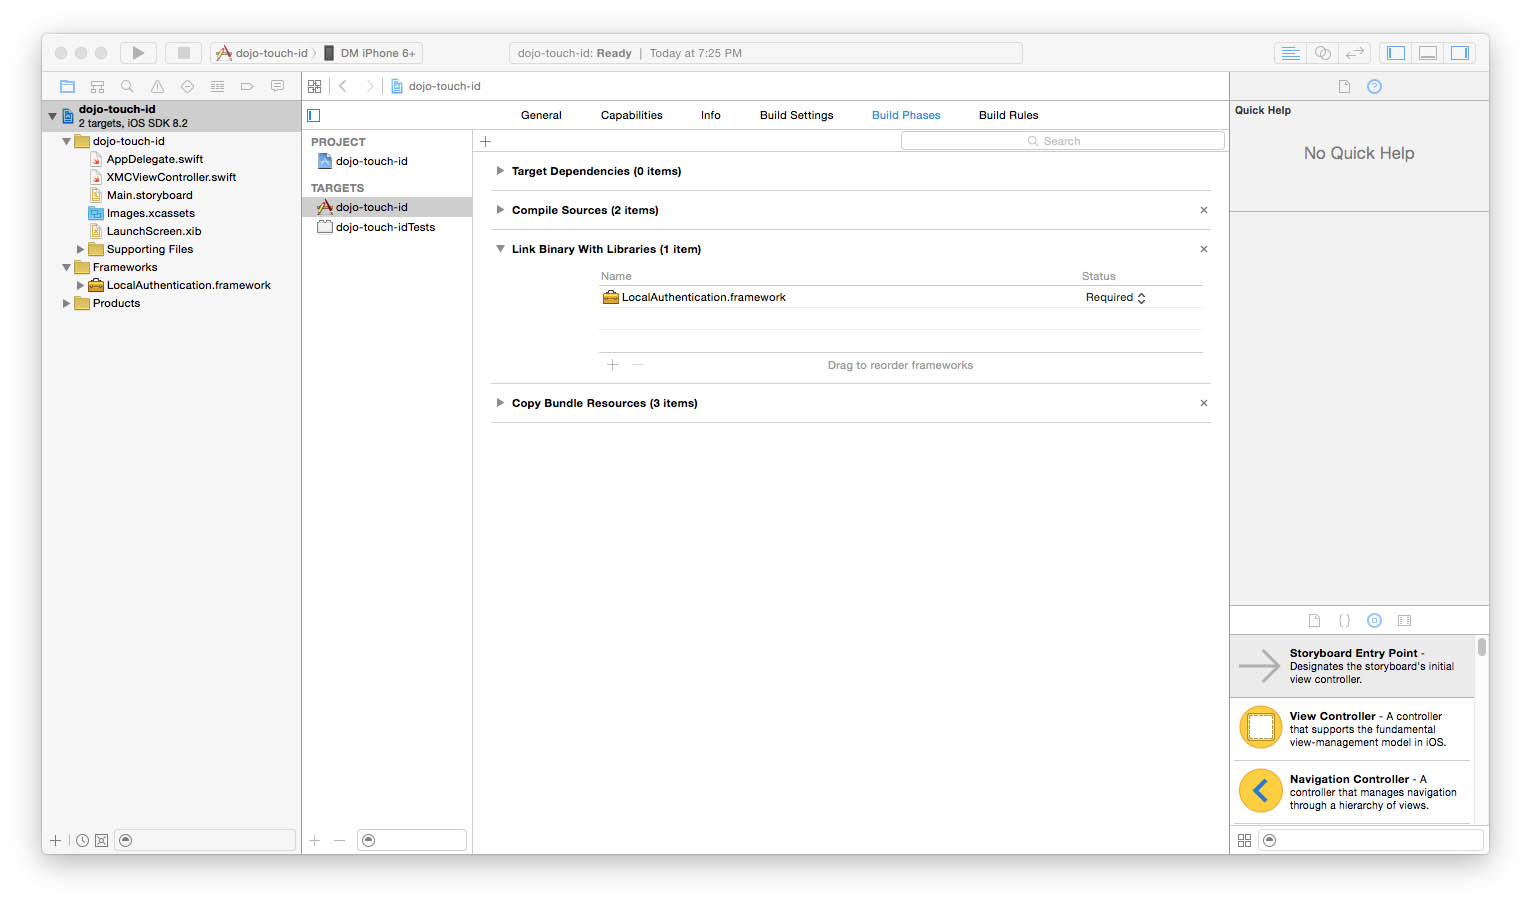
To add Touch ID to your app you’ll need to add LocalAuthentication.framework:
Now, we must consider the use case where the customer cancels our authentication and/or decides not to use Touch ID. It’s important to provide a fall back authentication method. In this example I use a custom keypad. You could also use an Alert View. It all really depends on the design you’re going for.
Here I advance the customer to the keypad view automatically upon launching our main view. This is because we want to make sure they are verified before we let them take any actions within our app. The convenience with pushing the customer here is that we can easily fall back to the text entry if they choose to not use Touch ID.
// MARK: Touch ID

func userAuthenticationRequired() {
    let context: LAContext = LAContext()

    // Reference the error codes listed in the tutorial
    var error: NSError?

    // What the customer will see in the alert view
    var description = "Authenticate To Access Journal"

    if context.canEvaluatePolicy(LAPolicy.DeviceOwnerAuthenticationWithBiometrics, error: &error) {
        context.evaluatePolicy(LAPolicy.DeviceOwnerAuthenticationWithBiometrics, localizedReason: description, reply: { (success, error) -> Void in

            if success {
                self.success()
            } else {
                println("Something went wrong! \(error.localizedDescription)")
                // Observe the error code to see what went wrong & guide the user to the
                // appropriate area. For now we assume cancelation and let them proceed
                // with entering a code.
            }
        })
    }

    if error != nil {
        println("Something went wrong! \(error?.localizedDescription)")
    }
}
In the code above we’re doing several things.
- Line 4 : Here we create our LAContext object that will let us verify authentication is available and to execute authentication
- Line 7 : Review the error codes above. If we hit an error they’ll be tucked inside this NSError object
- Line 10 : This text will be revealed within the alert view. Don’t worry about including your app name here, it’ll already be part of the title.
- Line 12 : Here we verify that authentication is possible
- Line 13 : We kick off the authentication process, which opens the Touch ID alert view
Common Questions
I’ve seen a few questions pop up over my time observing Twitter and listening to folks out there. I thought I’d outline them here.
Q. I have multiple profiles in my app. Is there a way to detect which finger was used?
No. The local authentication framework is extremely limited for security and privacy reasons.
Q. Is there a way to detect when the user touches the sensor?
No. Again, it’s a very limited framework.
Q. The response time for Touch ID seems very sluggish. Is there anything I can do?
Not that I’m aware of. You’re at the mercy of the framework and device.
Q. What do I do when the user presses ‘Enter Password’
You’ll need to move back to a text-based authentication. In the above example I’m using the keypad to handle this use case. You could use an alert view here instead. In order to do that you’ll want to set the UIAlertViewStyle to UIAlertViewStyleSecureText.
Q. What’s the best way to handle authentication on application launch?
In this example I wait for the main view to load and check if the user has authenticated. If they haven’t I present a modal controller. You don’t necessarily need to present a modal controller, but I did so in this example so that the transition from canceling to passcode input would be easier.
Q. The Touch ID alert view is not showing up! What’s wrong?
Check the error code, and be sure you have fingerprints added!
Takeaway
As you can see, implementing Touch ID is very straightforward. It’s a great way to provide convenience without sacrificing your user experience too much. While I opted to present a modal controller right away you could easily get away without doing so. Just hide the main content and reveal the Touch ID prompt.
Leave a Reply